Getting started
LetsFindWhy is a video interview platform for customer research. You invite the people you want to learn from, talk with them face to face online, and get a recording and transcript of every conversation, so you find out not just what your customers do, but why.
Suppose you’re building a note-taking app: new users keep signing up, but few come back after the first week. Instead of guessing why, you invite a handful of them to short video interviews, ask what got in their way, and watch the answers add up across conversations.
This page takes you from a brand-new account to your first finished interview: sign up, create a project, start your free trial, and run a session. No research background needed.
How LetsFindWhy is organized: projects, processes, and interviews
Everything you do in LetsFindWhy lives in a simple hierarchy:
- Organization: your workspace. It holds your team, your projects, and your subscription. LetsFindWhy creates one for you automatically when you sign up.
- Project: one research study, such as “Why do new users stop coming back?”. A project holds everything belonging to that study.
- Process: a track inside a project for one audience or language. A process ties together a screener (a short set of qualifying questions people answer when they sign up), a discussion guide (the list of questions and topics that structures an interview), and its interviews.
- Interview: a single live video session, either 1:1 or a focus group. People join as the moderator (who runs the session), as panelists (the respondents on camera), or as observers (teammates who watch without being seen).
How to sign up for LetsFindWhy
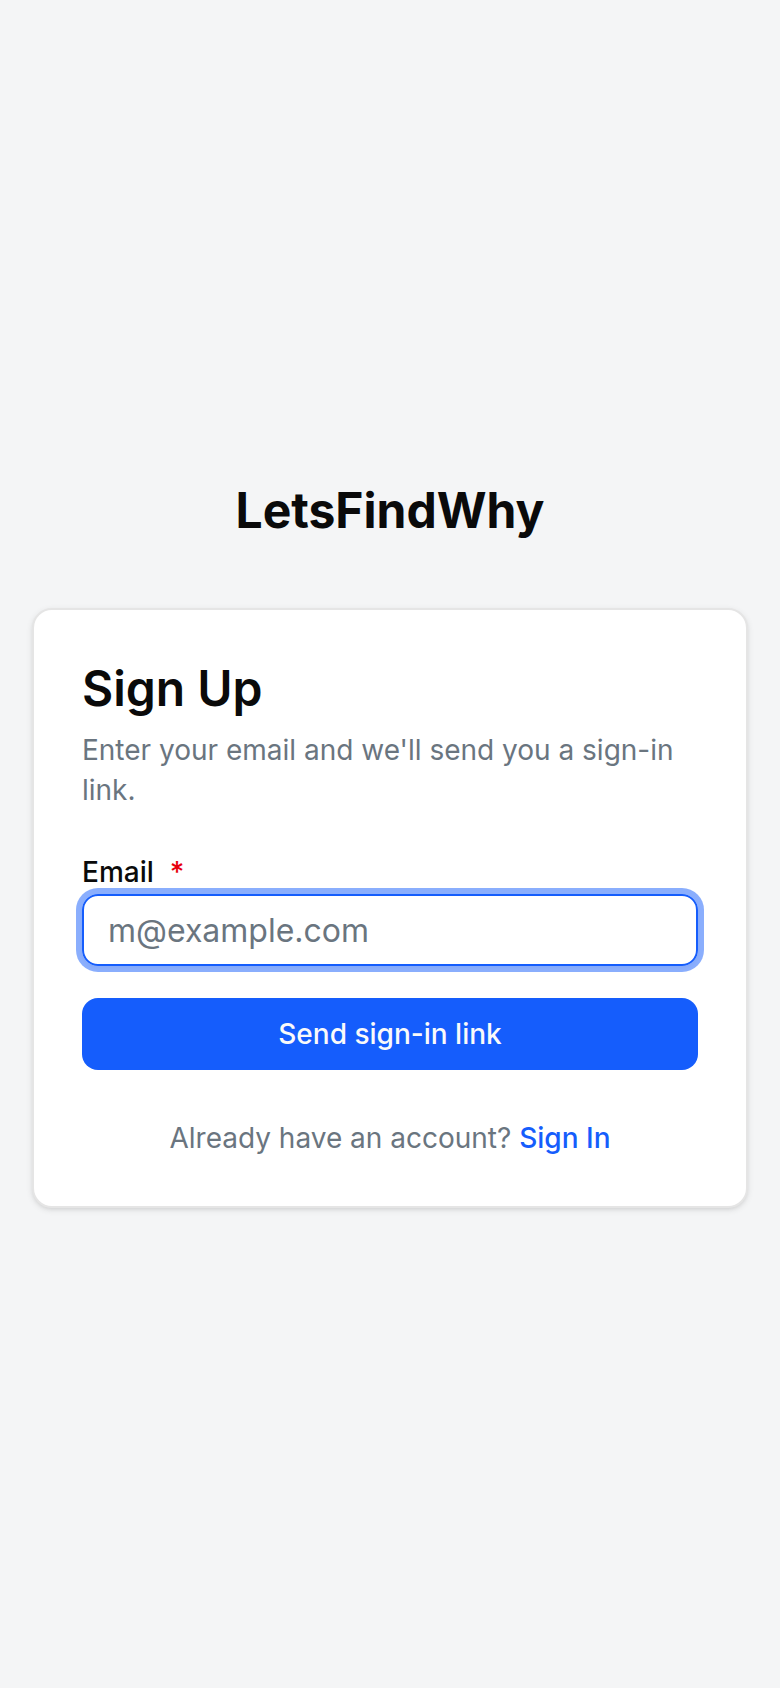
- On the Sign Up page, enter your address in the Email field.
- Click Send sign-in link.
- Open the sign-in link we email you. It expires in 15 minutes.
- On the Welcome to LetsFindWhy screen, fill in your Name and check the pre-detected country, language, and timezone.
- If you don’t want to sign in by email link every time, set a Password (optional) of at least 8 characters. You can also do this later in your settings.
- Click Save and continue (or Skip for now).
You land on the Start page, and LetsFindWhy automatically creates an organization named after you. You are its owner, ready to create projects.
How to create your first project
Projects are created from the Start page, the screen you land on whenever you open LetsFindWhy. Only an organization’s owner and admins can create projects; since the organization is yours, you’re set.
- Click New Project on your organization’s card (it reads Create your first project while the organization has no projects yet).
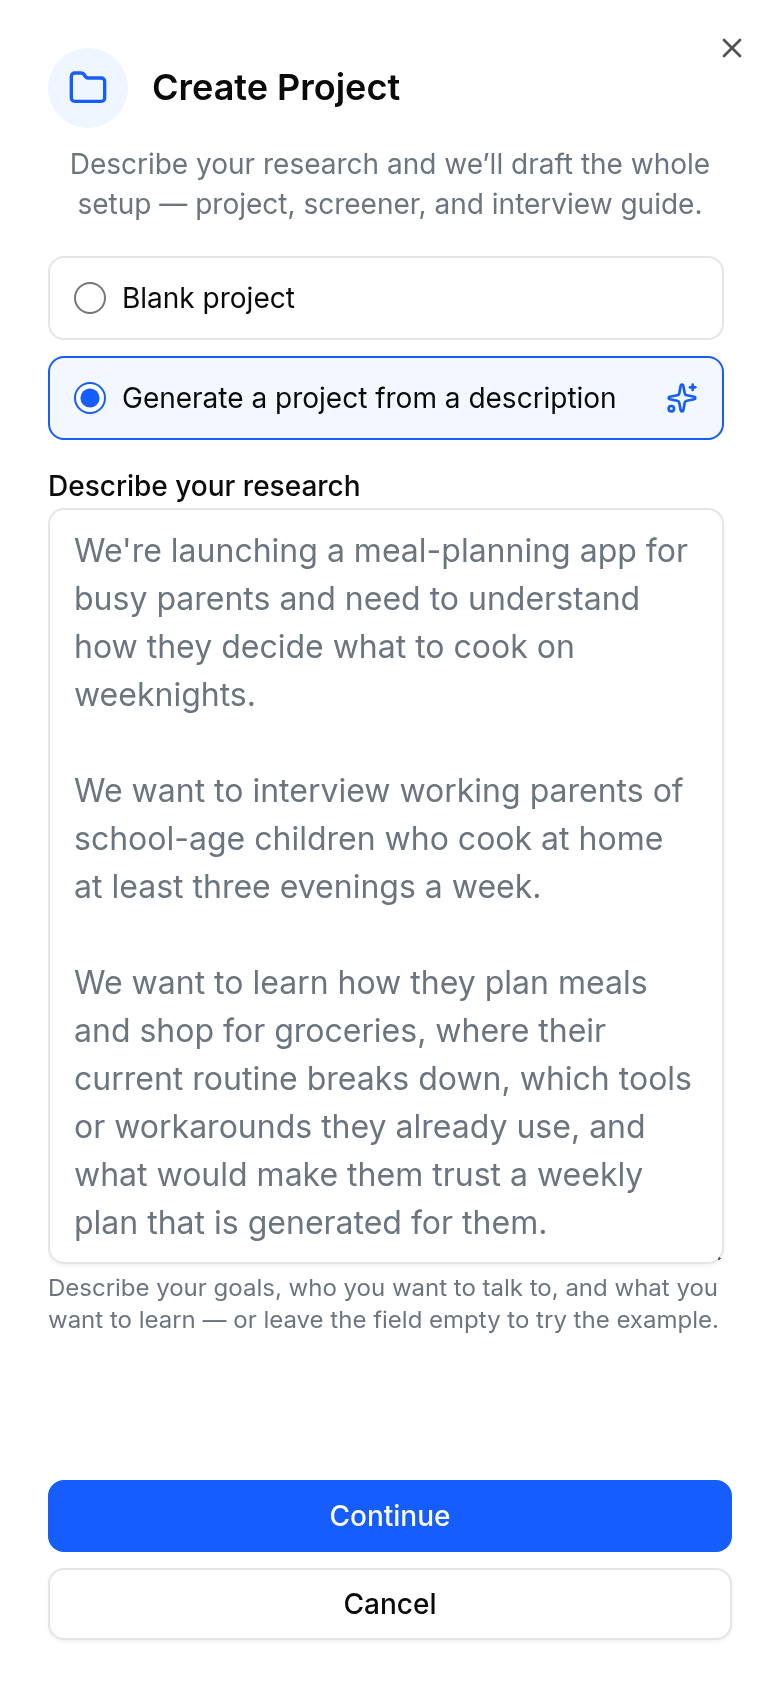
- In the Create Project dialog, keep Generate a project from a description selected.
- Under Describe your research, describe your goals, who you want to talk to, and what you want to learn, or leave the field empty to try the built-in example.
- Click Continue and watch the draft stream in: a project, a process, a discussion guide, and a screener. Edit any section directly, or click Regenerate to re-run your brief (regenerating replaces your edits).
- Click Create Project.
Everything in the draft is created at once, and your new project opens on its Dashboard, which shows each process as a pipeline from recruitment through to interviews.
Start from a blank project instead
Prefer to set everything up by hand? Choose Blank project, enter a Project Name, and click Create Project. A blank project starts without a process, so add one before creating interviews:
- Open Processes in the project sidebar and click Add Process.
- Give the process a name and at least one language/country pair under Languages.
- Save it. The process appears on the dashboard and as a group on the Interviews page.
How to start your free trial
Interviews use billed minutes, so your organization needs an active plan before you can create a session. Every plan starts with a 14-day free trial.
- Open Usage & Billing in the sidebar, under Organization.
- Choose a plan. Whichever you pick, it starts with a 14-day free trial.
- Complete checkout. During the trial, usage is capped at the trial’s billed-minute allowance, enough to run a real first interview before you pay.
Without a plan, creating an interview stops with a prompt to subscribe first. For plan sizes and how minutes are counted, see Billing & usage.
How to create and run your first interview
- Open Interviews in the project sidebar and click New Interview inside your process group.
- In Create New Interview, enter an Interview Title. If the process supports several languages, pick one.
- Set Expected Respondents. For a 1:1 interview scheduling is optional; for a focus group (up to 20 people) Date & Time is required.
- Optionally assign a Discussion Guide to structure the conversation, and turn on Use AI Moderator if you want the AI to run the session for you.
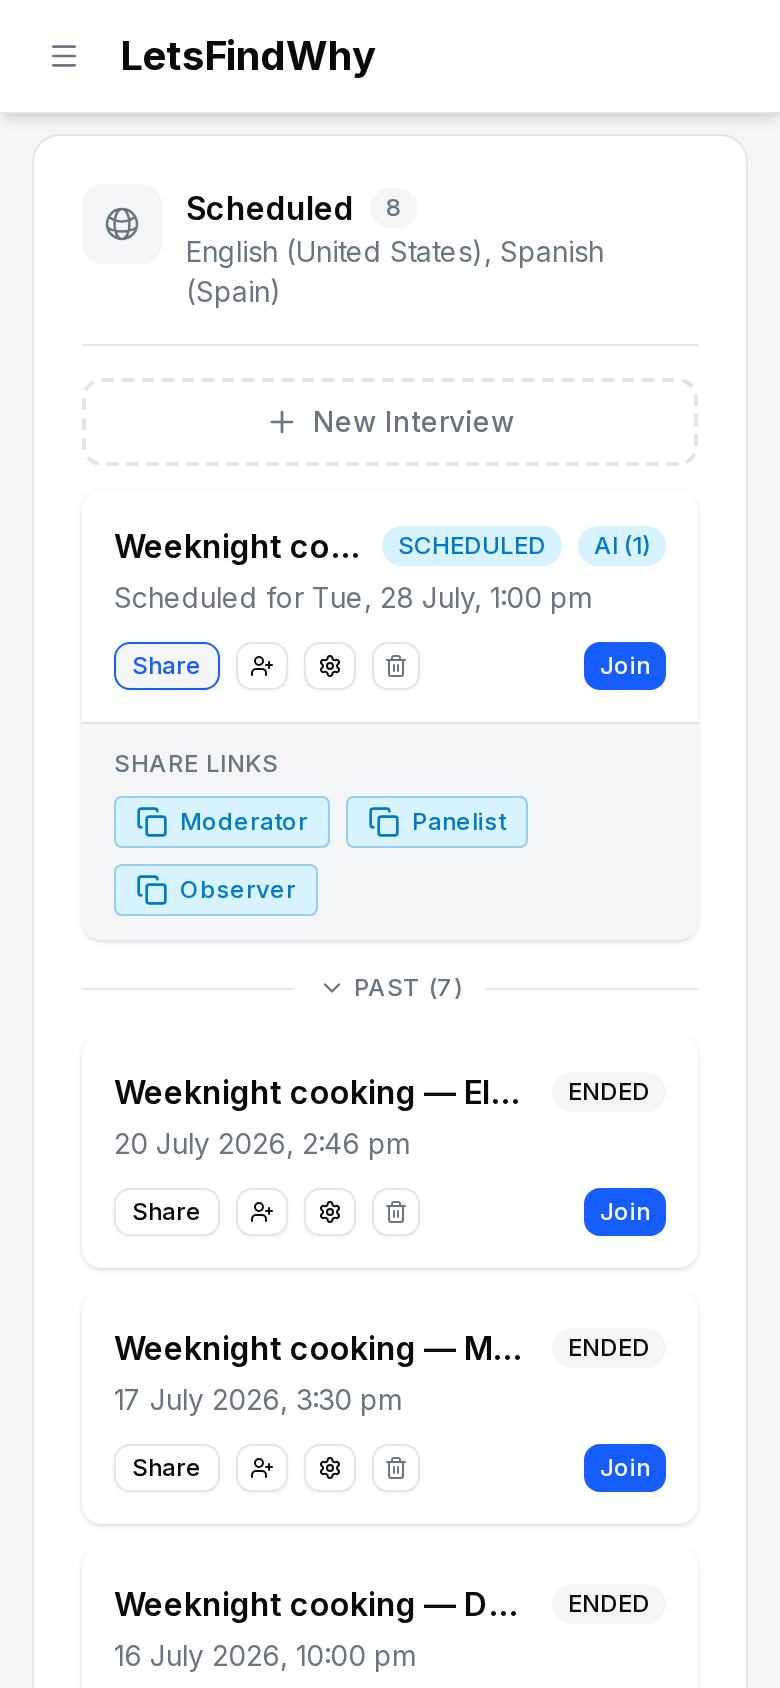
- Click Create. The interview appears with a SCHEDULED badge and, if you set a time, the scheduled date.
- Click Share to reveal Share Links: one copyable link each for the moderator, panelists, and observers. Send the panelist link to your respondent; they join as a guest by entering a Display Name and Email Address.
- Click Join to enter the meeting yourself as the moderator. The interview shows ACTIVE while it runs and ENDED when it’s over.
If the session was recorded, the recording and its transcript appear on the project’s Recordings page shortly after the meeting ends.
Tips for researchers
- Run one process per market or language and field them in parallel. A process’s language/country pairs lock once recruits have signed up for them, so plan the pairs up front.
- Don’t want to moderate? Enable Immediate AI interviews on a process: each recruited respondent gets a personal link, and a 1:1 AI-moderated session starts the moment they join. It requires a Default discussion guide.
- Keep reusable materials at organization level: Discussion Guides and the Screener Library in the sidebar hold guides and screeners you can pull into any project.
- Every session records itself, so no interview goes unrecorded and recordings and transcripts pile up ready for analysis. A short countdown warns the room before recording starts, which is a natural cue to tell respondents they’re being recorded.
- Give clients and note-takers the observer link. Observers watch without appearing on camera and chat in their own Backroom channel, out of the respondents’ sight.
- Budget trial minutes with care: discussion-guide questions of the “With follow-ups” type bill at twice the minutes.